
Alright, Let’s Talk About This Miracle Glue
Honestly, I bought this stuff out of pure desperation. Picture this: it’s 11 PM, I’m in my bathroom, and I’ve just stubbed my toe hard on a cracked floor tile. Not my finest moment. I was NOT about to call a contractor and spend hundreds. So, after some frantic Googling, I found this Tile Crack Repair Glue. For twenty bucks? I figured it was worth a shot. Worst case, I’d have a weird epoxy blob on my floor.
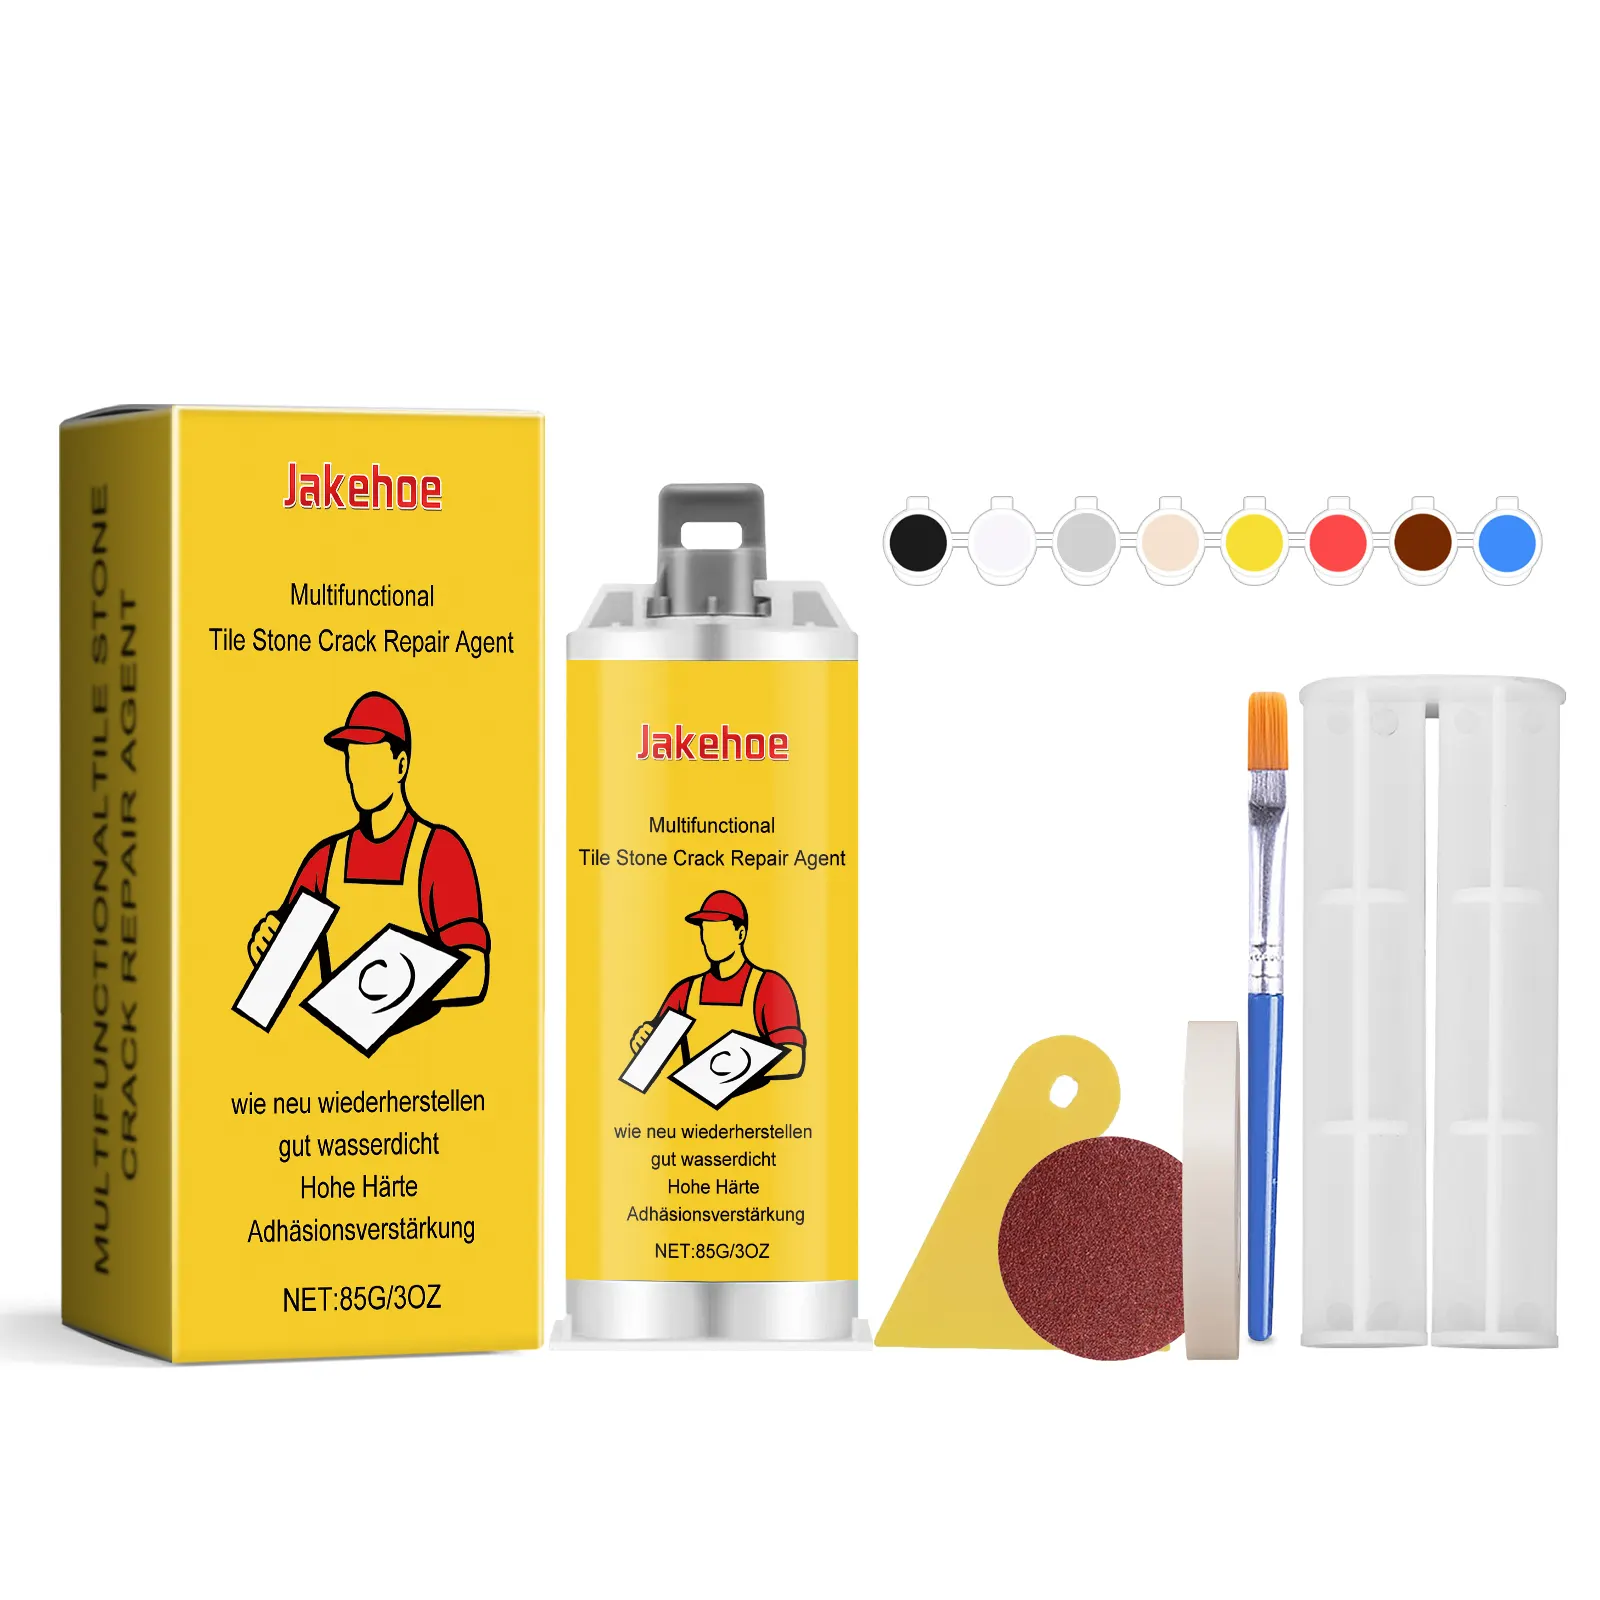
The Application: Kinda Like Arts and Crafts For Grown-Ups
Listen, I’m not the handiest guy. The kit comes with these two tubes (the A and B epoxy), a mixing tray, a scraper, sandpaper, and some chalk powder. The instructions are straightforward, but here’s the thing you need to know: you gotta be patient and clean the area like your mother-in-law is coming to inspect. I spent a good 15 minutes just cleaning out the crack and putting down the masking tape. The mixing part is satisfying, though—you squeeze out equal parts and stir. It turns into this thick, glossy paste.
I gotta say, applying it with the scraper was weirdly therapeutic. You just push it into the crack, smooth it over, and wait. The drying time is no joke. I left it overnight, just like it said. The next step with the chalk coating is what makes it look decent, not just like a glob of glue. You sprinkle it on, let it dry, then sand it smooth. Pro tip: wear a mask when sanding. I didn’t at first and ended up in a sneezing fit. My bad.
How It Stacks Up Against The “Normal” Alternatives
So, what’s the alternative? Calling a pro or trying some generic hardware store caulk. I made a quick comparison chart because, well, I like seeing things side-by-side.
| Feature | This Tile Repair Glue | Regular Caulk / DIY Fix |
|---|---|---|
| Cost | ~$20.99 | ~$5-$10 (but less effective) |
| Key Ingredient / Method | Two-part epoxy resin & calcium carbonate | Silicone or acrylic caulk |
| Final Look & Durability | Hard, sandable, paintable. Blends in. | Often remains rubbery, can discolor, less durable. |
See the difference? The epoxy is a permanent bond. The caulk is just a temporary seal that’ll probably crack again when you step on it.
The Good, The Bad, And The Slightly Messy
Let’s be real, no product is perfect. Here’s my take after using it.
The Good: This stuff is strong. My tile crack is gone, and the surface is completely smooth and hard. You can walk on it immediately. The color-matching with the chalk powder is a genius touch—it doesn’t look like a shiny plastic repair. I’m confident it’ll last for years.
The Bad (or rather, the annoying): The process isn’t fast. From cleaning to final sanding, you’re looking at a good 24-hour project. Also, you have to mix the exact amount you need. Once that epoxy starts curing in the tray, that’s it. You can’t save it for later. I wasted a little bit figuring that out.

Final Verdict
So, is it worth the hype? For a DIYer who doesn’t want to replace a whole tile, absolutely. It saved me a ton of money and anxiety. It’s not a magical 5-minute fix—you have to put in the work—but if you follow the steps, you get a professional-looking result. My bathroom floor is no longer a toe-trap, and that’s a win in my book.
If you’ve got a similar crack staring at you every morning, just get the kit. It’s less than the cost of a pizza and it actually solves the problem.

