
Okay, So My Windowsill Was Basically a Water Feature
Listen. I’m not a handyman. My idea of a home repair project is figuring out which streaming service has the show I want to watch. But last month, the heavy rains decided to test my apartment’s waterproofing, and let’s just say it failed. I had a persistent little leak right where my bedroom window meets the wall. Not a flood, just enough to make a dark, damp patch and give me mild anxiety every time it clouded over.
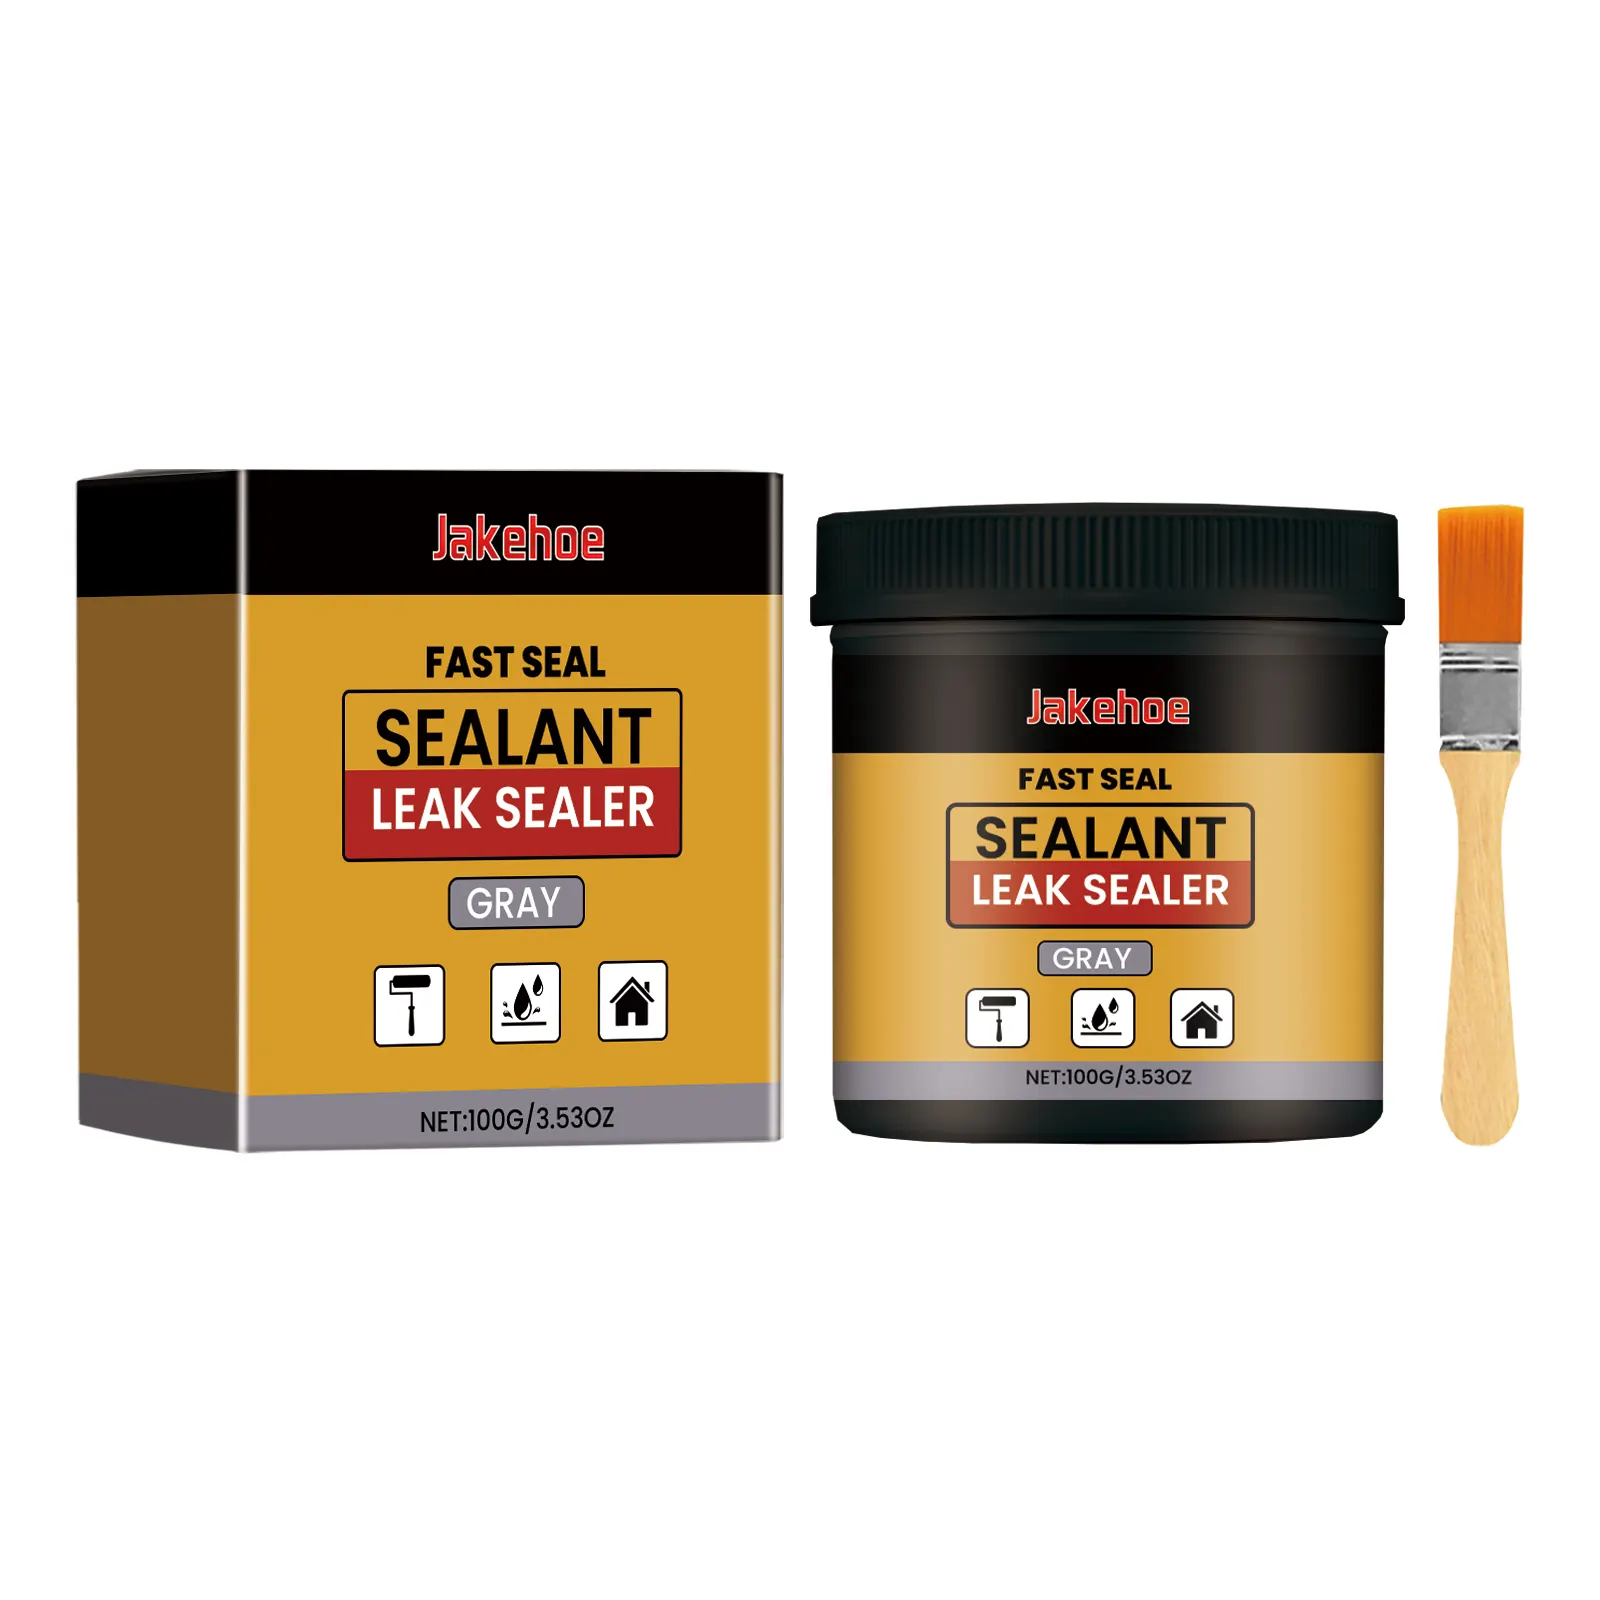
I was scrolling through DIY fixes, feeling overwhelmed, when I stumbled on this JH-C07 sealant. The listing claimed it was for “multiple surfaces” and was “professional grade.” I figured, how hard could it be? Honestly, I ordered it more out of desperation than hope.
The Unboxing (And The First Hiccup)
The tube arrived pretty quick. It looks… like a tube of sealant. No fancy packaging, which I actually appreciate. It means I’m paying for the goop inside, not the box. The nozzle was easy to screw on.
Here’s my first piece of real talk: the instructions say to clean and dry the surface thoroughly. I thought I did. I wiped it down with a cloth. But let me tell you, for a proper bond, you need to go full forensic-clean on that surface. I learned this the slightly hard way on my first, sloppy attempt. More on that later.
How It Stacks Up Against My Old Caulk
I had some generic white caulk left from a past, equally pathetic attempt. I made a quick comparison chart for you, because why not?
| Feature | JH-C07 Sealant | My Old Caulk |
|---|---|---|
| Price Point | Mid-range (~$28) | Cheap (~$8) |
| Key Ingredient | Acrylic & Silicone Acrylic Emulsion | Basic Latex |
| Waterproof Claim | Enhanced, for exterior use | Basic, for interior gaps |
| My Result | Bone-dry windowsill after storms | Damp patch returned in a week |
The Actual Application & The Good Stuff
After my first fail (remember the bad cleaning?), I got serious. I used a bit of rubbing alcohol on the area, let it dry completely, and then applied the sealant. The consistency is thick but smooth. It went on easily without dripping everywhere. The “defoamer technology” they mention? I guess it works, because I didn’t see any annoying bubbles forming in the bead I laid down.
I gotta say, the 24-hour drying time is no joke. I was paranoid and waited a full 36 hours before even thinking about water. But once it cured, it formed this flexible, rubbery seal. We’ve had three heavy rainstorms since, and I’m thrilled to report my windowsill is finally, blessedly dry. No more dark patch. The adhesion feels incredibly strong.

Where I Also Tried It (And A Small Gripe)
Emboldened by my windowsill success, I used the rest of the tube on some sketchy-looking grout in my bathroom shower. Again, worked like a charm. It’s been weeks, and no water seepage.
Okay, time for the critique. My one gripe is the clean-up. If you get this stuff where you don’t want it before it dries, you need to be quick with a wet cloth. Once it starts to set, it’s stubborn. It’s not the product’s fault—it’s designed to be durable—but it’s a heads-up for clumsy folks like me. Wear gloves, maybe.
Also, the color is a very specific off-white. Make sure it matches or is hidden, because painting over it might be tricky.
Final Verdict: Would I Buy It Again?
Absolutely. For a weekend warrior who needs a reliable, serious sealant for wet areas, this stuff delivers. It’s not the cheapest, but it solved a problem that a cheaper product couldn’t. The key is in the prep work—don’t skip it. Clean that surface like your dry wall depends on it (because it does).
It’s not magic in a tube, but it’s the closest thing I’ve found for stopping leaks without calling a pro. My windowsill and I are now at peace.

